


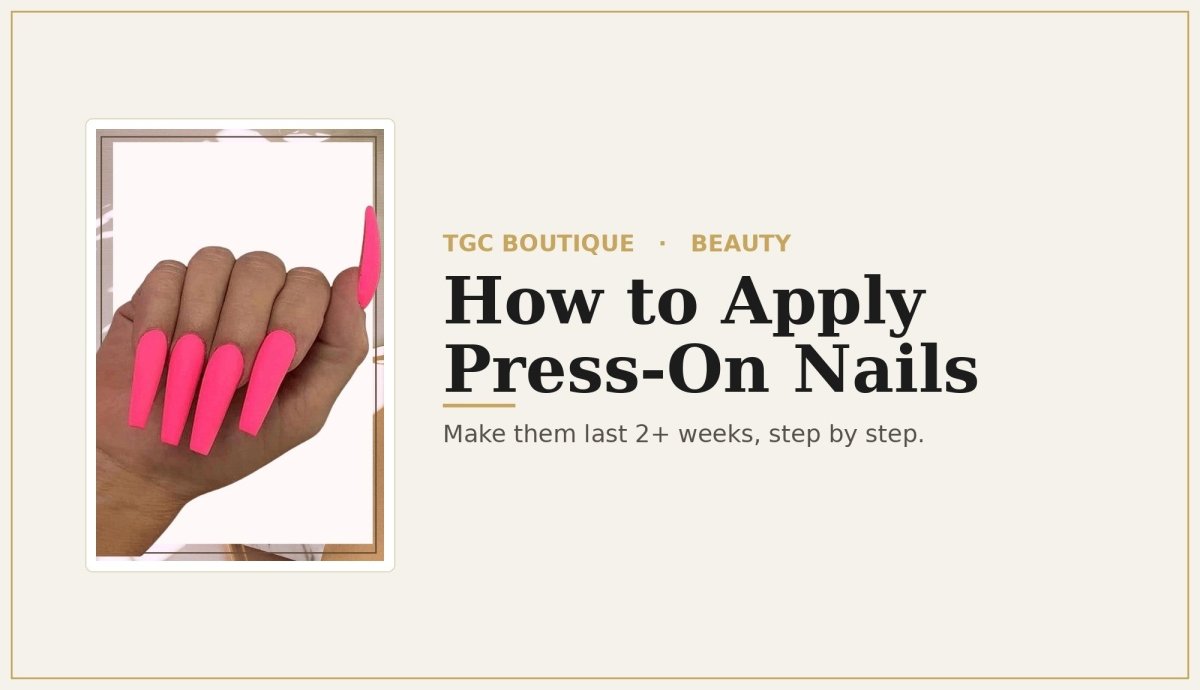
How to Apply Press-On Nails So They Last 2+ Weeks
How to apply press-on nails so they last — the quick version:
- Prep: push back cuticles, lightly buff the shine off each nail, and wipe with alcohol so no oil is left.
- Size each nail (when in doubt, size down) so the press-on covers your nail bed edge to edge.
- Apply with adhesive tabs for a reusable 5–7 day wear, or nail glue for a firm 2+ week hold.
- Press each nail on for 30 seconds and avoid water for 2–3 hours so the bond can cure.
- Remove by soaking in warm soapy water — never rip them off.
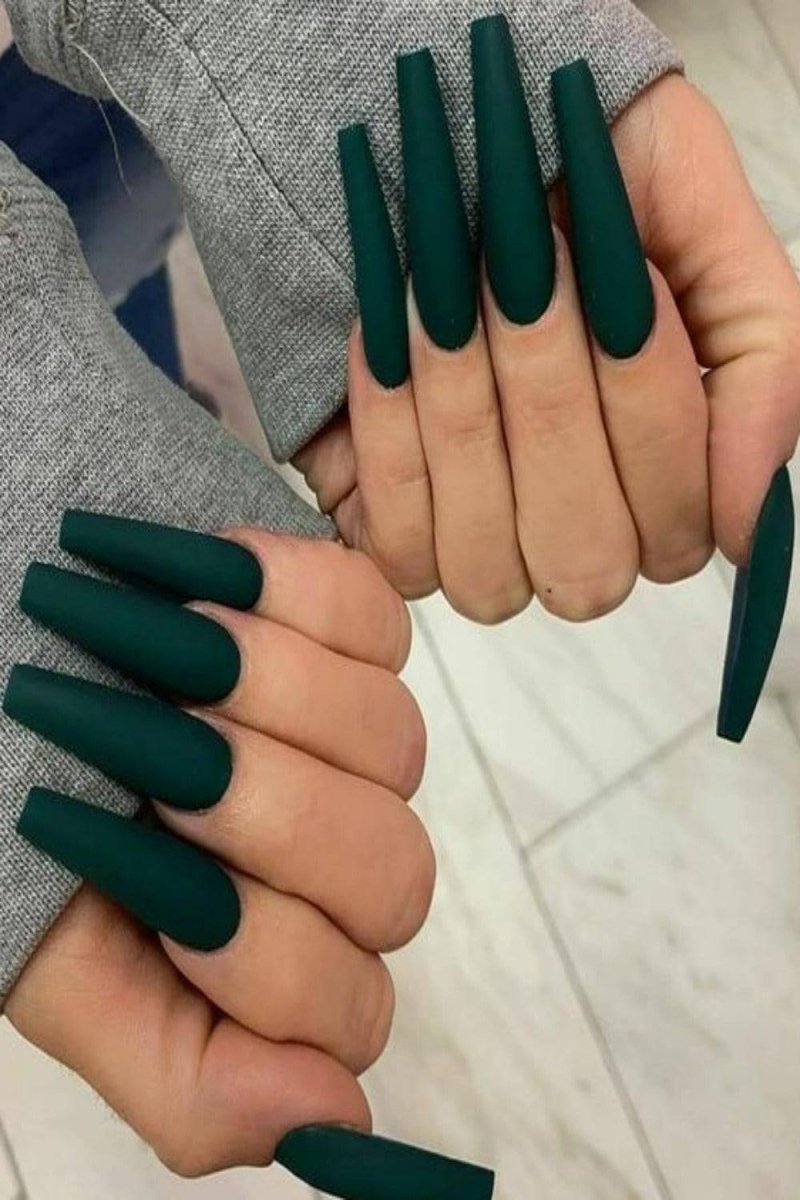
Ready to shop? Browse the full TGC press-on nails collection — salon-perfect sets in coffin, almond, square and french-tip styles.
Press-on nails have come a long way — today's sets give you a salon-quality manicure in about ten minutes, with zero drying time and no damage to your natural nails. But whether they last two days or two weeks comes down almost entirely to how you apply them. This step-by-step guide walks you through the exact prep, application and aftercare pros use so your TGC press-ons stay flawless for as long as possible.
What You'll Need
Before you start, gather a few basics: your press-on nail kit (most TGC kits include the nails, glue and tools), a nail file and buffer, a cuticle stick, and an alcohol pad or a little rubbing alcohol. If you want maximum wear time, have nail glue on hand; if you want to reuse your set, use the adhesive tabs instead.
Step 1: Prep Your Natural Nails
Prep is the single most important step — skip it and your press-ons will pop off early, no matter how good the set is. Start by removing any old polish and washing your hands. Gently push back your cuticles with a cuticle stick to expose the full nail bed. Then lightly buff the surface of each nail to take off the natural shine; this gives the adhesive a matte texture to grip. Finally, wipe every nail with an alcohol pad to strip away oils, and avoid touching your nails after that — the oils from your fingertips are the number-one reason press-ons lift.
Step 2: Size and Apply Your Press-On Nails
Lay out the press-ons and match one to each finger before you apply anything. The nail should cover your natural nail from sidewall to sidewall without overlapping your skin. When you're between two sizes, size down or lightly file the edges for a snug fit. Then choose your method:
Adhesive tabs (best for reusing your set): peel a tab, press it onto your natural nail, then place the press-on at a slight angle and press down firmly for 30 seconds. Tabs give a gentle 5–7 day hold and let you reuse the nails.
Nail glue (best for maximum wear): apply a thin layer of glue to both your natural nail and the back of the press-on, place it at the cuticle line, and hold firm pressure for 30 seconds. Glue gives the longest, most secure hold — up to two weeks or more. Work from your pinky to your thumb so your dominant fingers do the fiddly work last.
SHOP TGC PRESS-ON NAILS
 Matte Coffin Press-On Nail Kit
 French Tip Coffin Press-On Nails
 Ombre Coffin Press-On Nails
Step 3: Make Them Last 2+ Weeks
Once every nail is on, resist the urge to get them wet. Avoid water — especially hot water — for at least 2–3 hours so the adhesive fully cures; applying your set right before bed is an easy way to let it set overnight. After that, protect your investment: wear gloves for dishes and cleaning, don't use your nails as tools to open cans or peel labels, and keep a little cuticle oil away from the very base of the nail so you don't loosen the bond. Small habits are the difference between a set that lasts a weekend and one that lasts two weeks.
Step 4: How to Remove Press-On Nails Without Damage
Never pull or pry press-ons off — that's how natural nails get thin and damaged. Instead, soak your hands in warm, soapy water (a drop of oil helps) for 10–15 minutes to loosen the adhesive, then gently lift each nail from the edge with a cuticle stick. If a nail resists, soak longer rather than forcing it. To reuse your set, peel the old adhesive off the back, and store the nails in their tray for next time. Finish with cuticle oil and a moisturiser to rehydrate your natural nails.
Get the free Press-On Nail Prep & Removal Checklist
Join the TGC list for the printable checklist plus first access to new nail drops and exclusive promos.
Press-On Nails: FAQs
How long do press-on nails last?
With proper prep, adhesive tabs last around 5–7 days and nail glue lasts up to 2 weeks or more. How you prep and how gentle you are with your hands matters more than the brand.
Do press-on nails damage your natural nails?
Not when applied and removed correctly. Unlike acrylics, press-ons don't require heavy filing or drilling. The damage people report almost always comes from ripping them off — always soak and lift gently instead.
Can you reuse press-on nails?
Yes, if you apply them with adhesive tabs (or remove glued ones carefully). Peel off the old adhesive, clean the nail, and store the set in its tray to wear again.
How do you make press-on nails last longer?
Buff and de-grease your natural nails, size each press-on to fit edge to edge, use nail glue for the firmest hold, and avoid water for 2–3 hours after applying. Wear gloves for wet chores.
Glue or adhesive tabs — which is better?
Glue gives the longest, most secure wear (great for events and vacations). Tabs are gentler and let you reuse the set (great for switching styles weekly). Many TGC kits include both.
How do you remove press-on nails safely?
Soak your hands in warm soapy water for 10–15 minutes, then gently lift each nail from the edge with a cuticle stick. Never force or rip them off.
Leave a comment
This site is protected by hCaptcha and the hCaptcha Privacy Policy and Terms of Service apply.